DIY Guide: How to Install Custom Kitchen Cabinets Like a Pro


Understanding Your Space and Needs
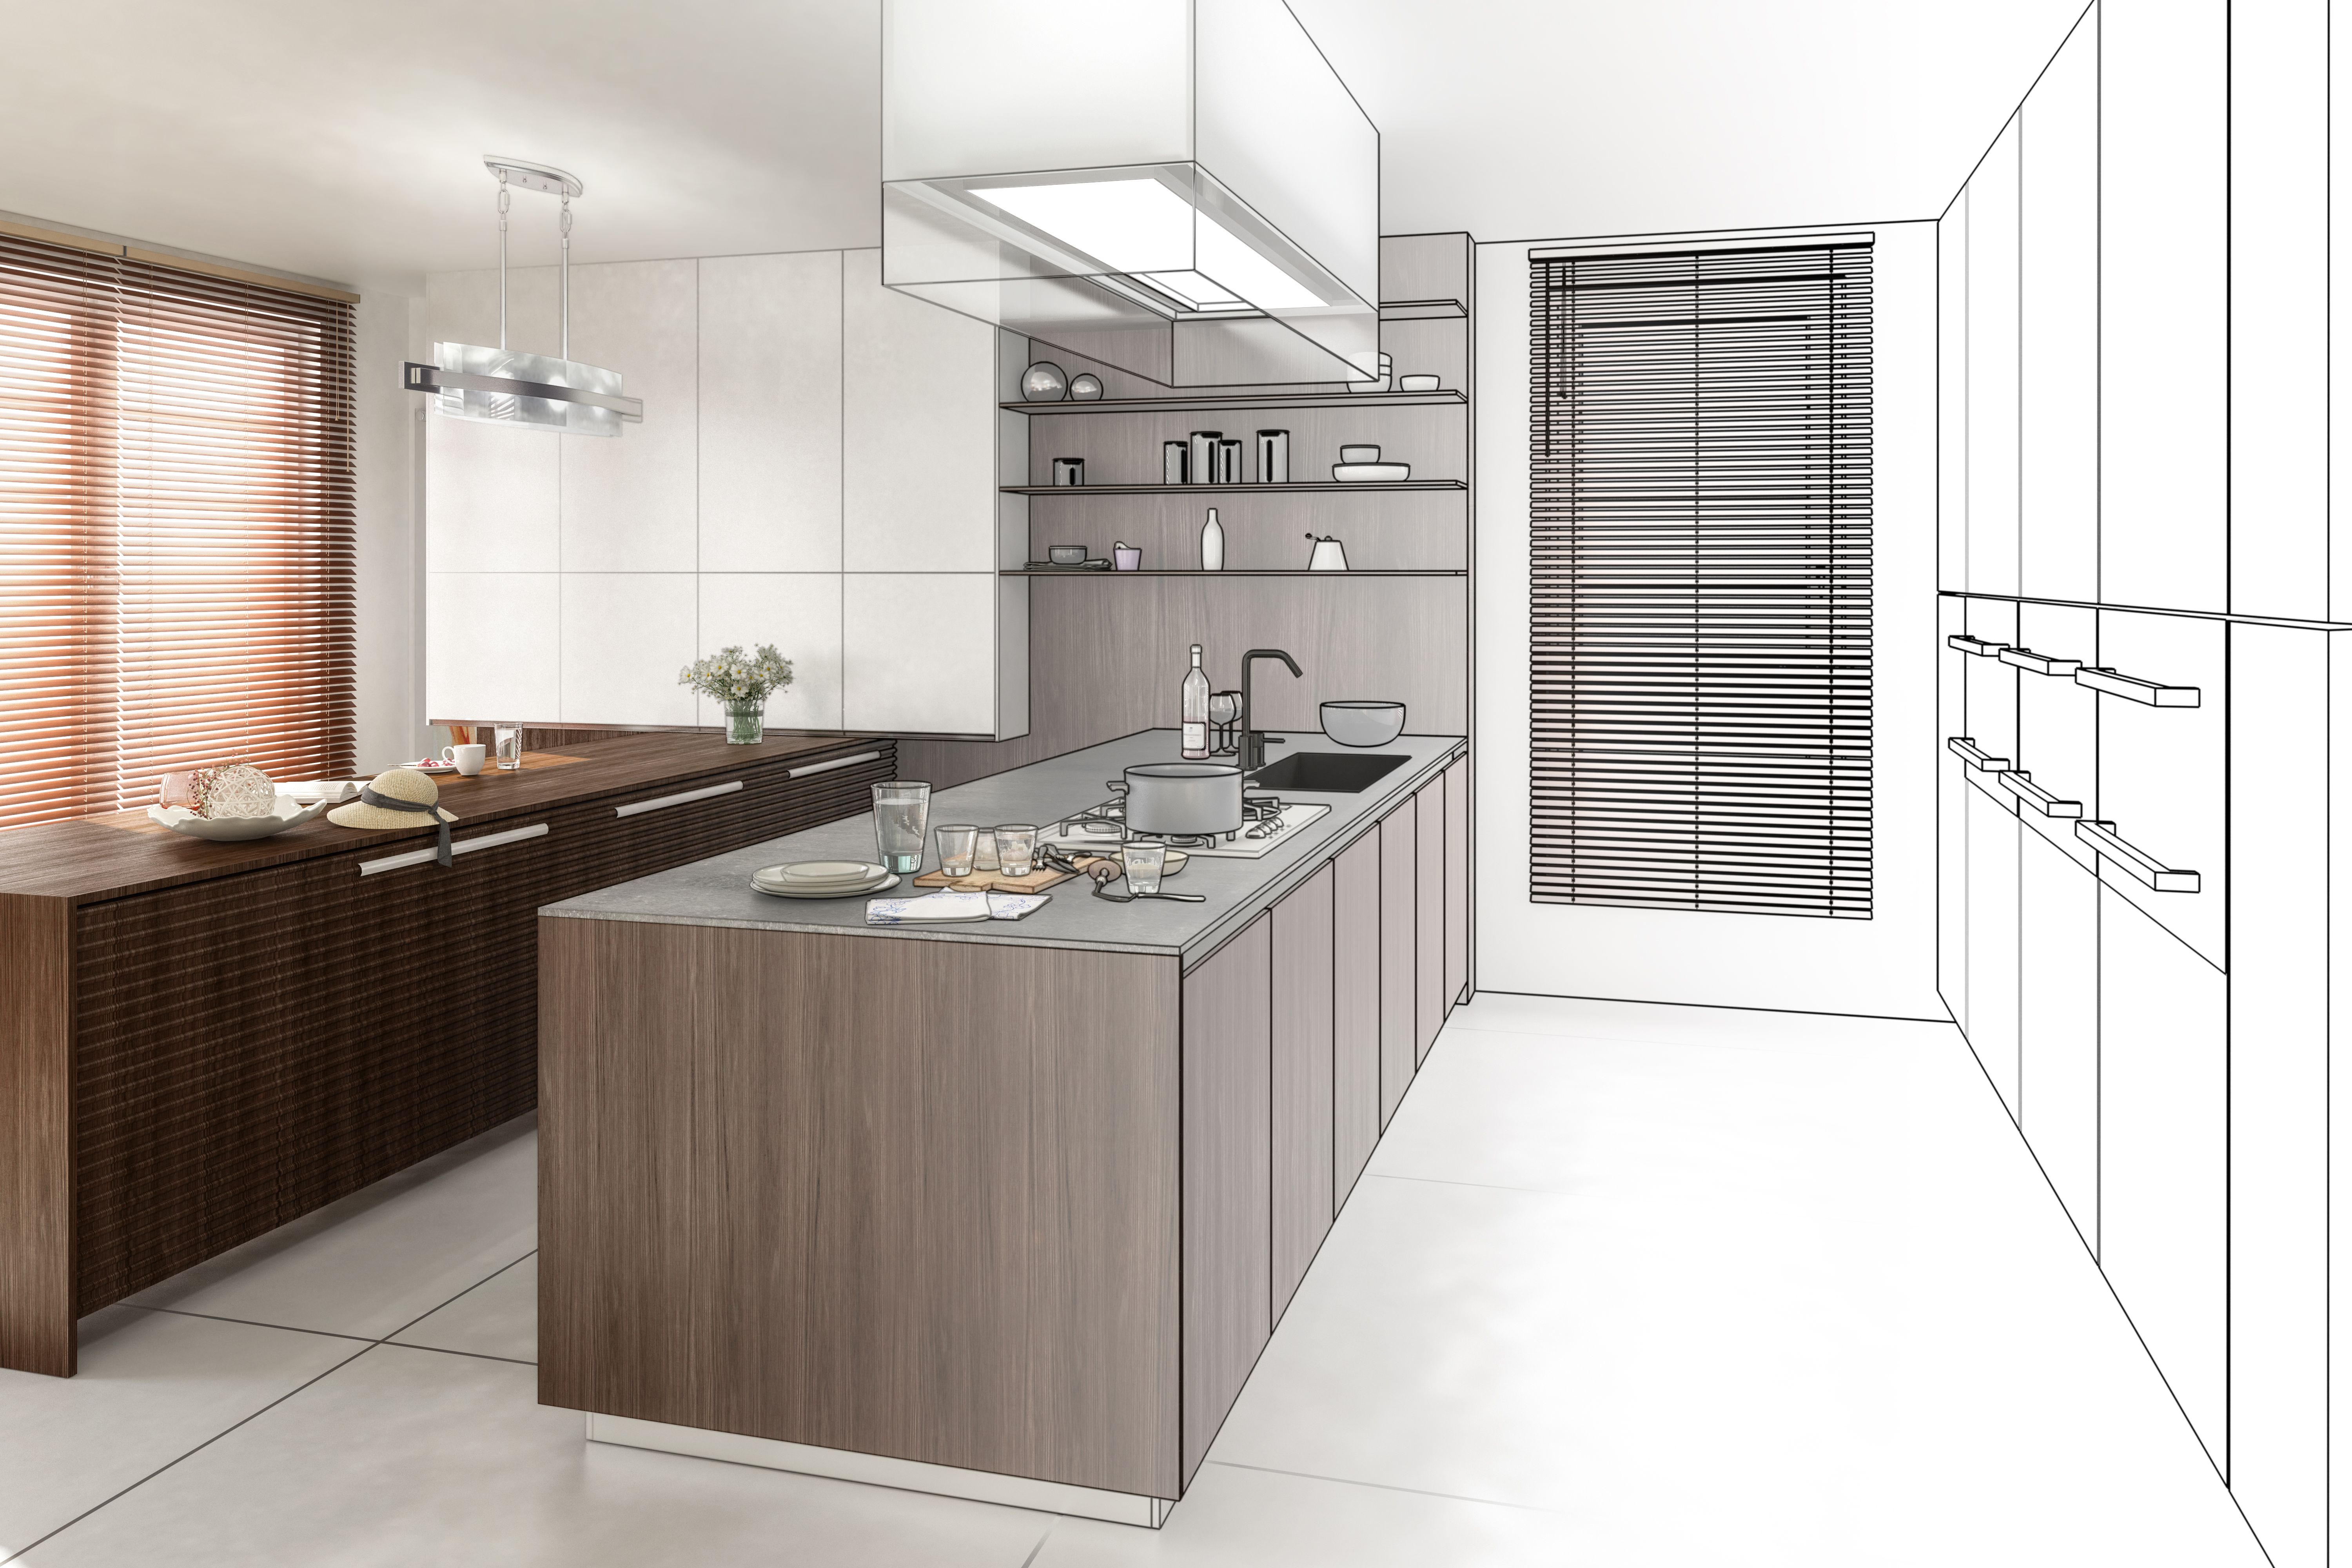
Before diving into the installation process, it’s crucial to assess your kitchen space. Measure the dimensions of your kitchen meticulously to ensure that your custom cabinets will fit perfectly. Consider factors such as the layout, the height of the ceilings, and any unique architectural features. Make a list of what you need to store in your cabinets to determine the type and number of cabinets required.
Once you have a clear understanding of your space and needs, sketch a design plan. This plan will serve as a blueprint throughout the installation process, ensuring everything goes smoothly. It's also helpful to have a detailed shopping list of all the materials and tools you'll need.
Gathering Your Tools and Materials
Having the right tools and materials is essential for a successful DIY cabinet installation. Here’s a list of the basic tools you’ll need:
- Measuring tape
- Level
- Drill
- Screwdriver
- Stud finder
- Clamps
- Saw (if custom cuts are needed)
In addition to tools, gather all necessary materials such as cabinet units, screws, brackets, and any additional hardware required for assembly. Double-check your list to avoid any last-minute trips to the hardware store.

Preparing Your Kitchen
Preparation is key when it comes to installing kitchen cabinets. Start by clearing out the old cabinets and removing any debris from the installation area. Use a stud finder to locate wall studs where your cabinets will be mounted, marking these with a pencil for easy reference.
Ensure that your kitchen walls are clean and smooth. If there are any uneven areas, sand them down for a flat surface. This step is crucial for ensuring that your cabinets are level and secure once installed.
Installing the Upper Cabinets First
Begin your installation with the upper cabinets. This approach prevents any damage to the lower cabinets during the process. Use your level to draw a straight line on the wall where the bottom of the upper cabinets will sit. This will act as a guide during installation.
With the help of another person or using temporary support like clamps, hold the cabinet in place and drill screws through the back panel into the marked wall studs. Ensure that each cabinet is level before securing it completely. Repeat this process for each unit, using clamps to hold adjoining cabinets together as you work.
Installing the Lower Cabinets
Once the upper cabinets are securely in place, move on to the lower cabinets. Start from one corner of the room and work your way around. As with the upper cabinets, use a level to ensure each unit is perfectly aligned.
Secure each cabinet to the wall studs using screws, and use clamps to attach adjacent units firmly together. After all lower cabinets are installed, double-check their alignment with a level and make any necessary adjustments.
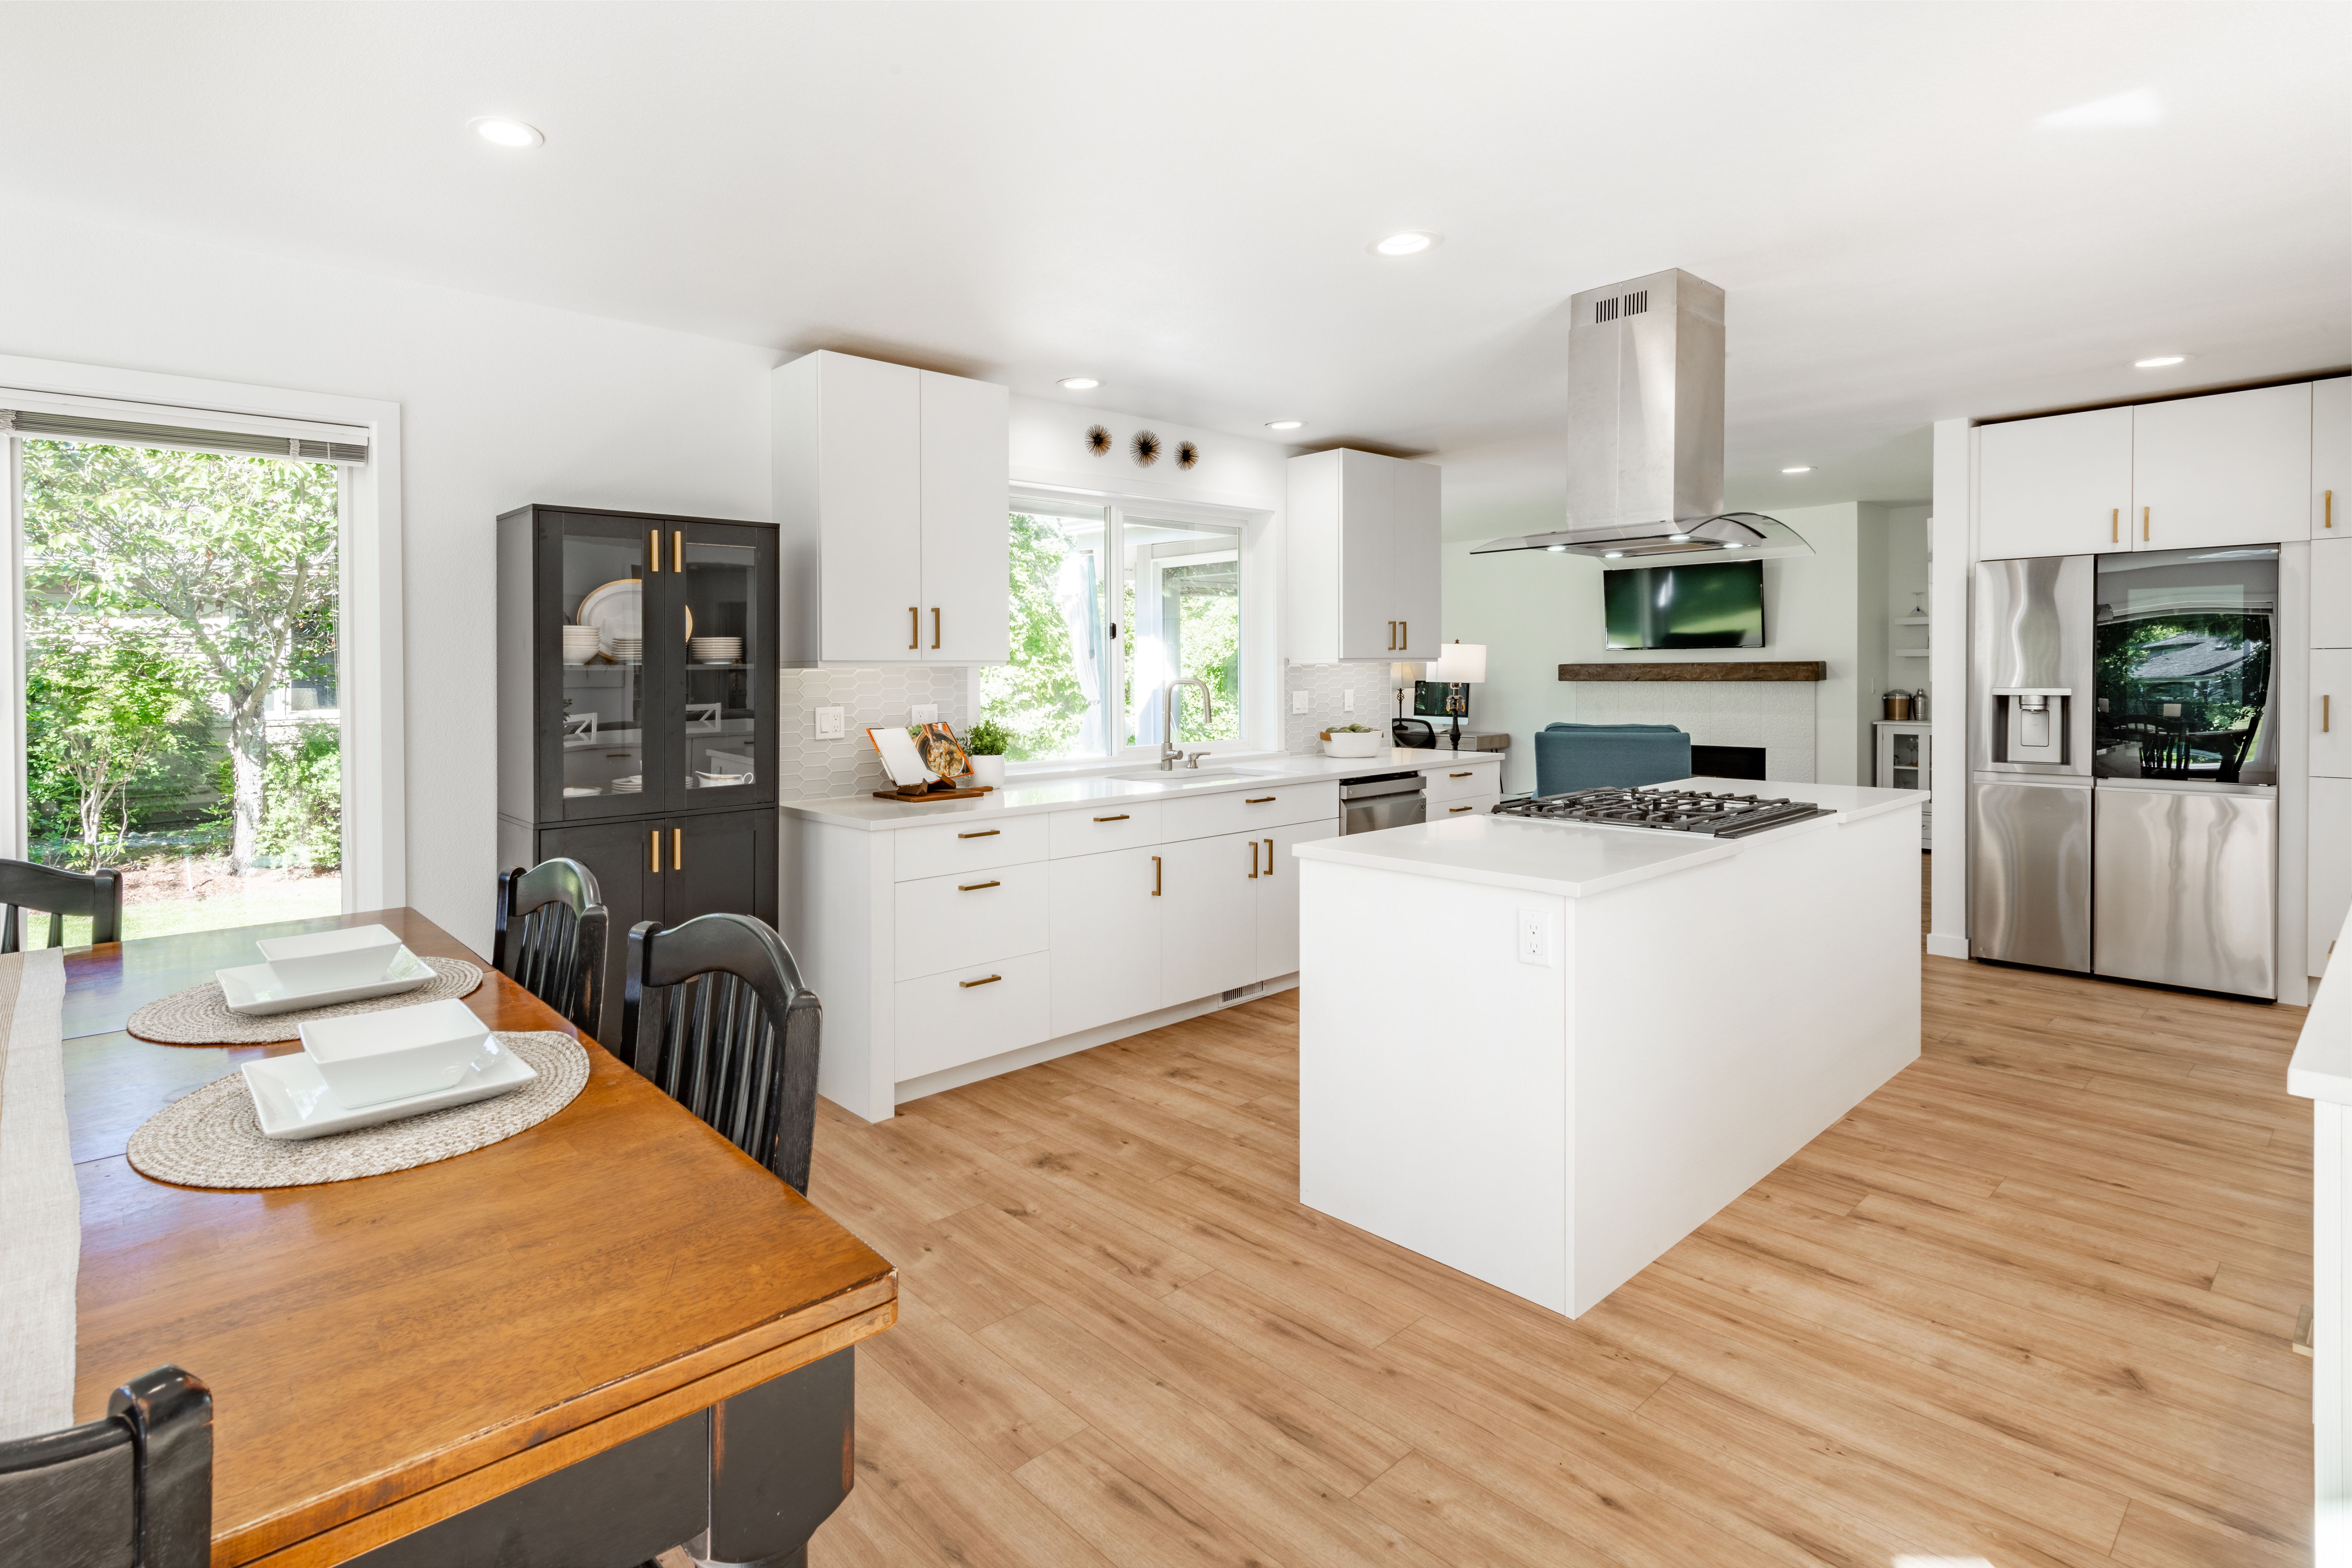
Final Touches and Adjustments
With all cabinets installed, it's time for some finishing touches. Install doors and drawer fronts, adjusting hinges as needed to ensure they open smoothly. Add handles or knobs for functionality and style.
Consider installing under-cabinet lighting for added ambiance and practicality in your kitchen. Finally, inspect all cabinets for stability and make any adjustments necessary to ensure everything is secure.
By following these steps, you can install custom kitchen cabinets like a pro, enhancing both the functionality and aesthetics of your space. With careful planning and execution, you’ll enjoy a beautifully transformed kitchen for years to come.